 If you get a requirements needed message click ok so that it can install them (updated .NET framework and Windows Installer)Microsoft .NET Framework 3.5 SP1 update
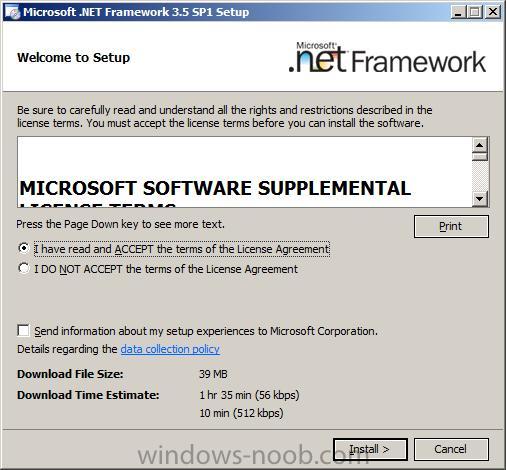
Accept the license agreement for the .NET update and click install
The actual installation seems to take a few minutes…. if it fails it will give you an error log, you can try installing it again or read the installation issues readme.

Windows Installer 4.5 Update
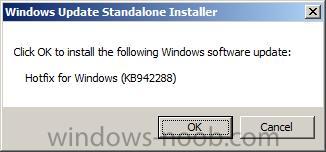
Next you may be promted to install a hotfix (KB942288), click Ok.
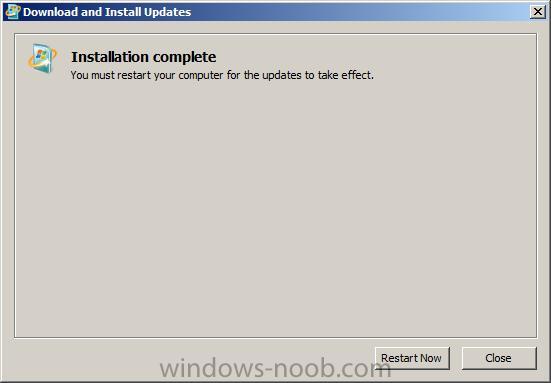
if you were prompted to install the hotfix then you’ll be asked to Restart, so lets do that…
after the restart and now that we’ve updated those two components run setup.exe again from the SQL 2008 iso (dvd). You should see the following
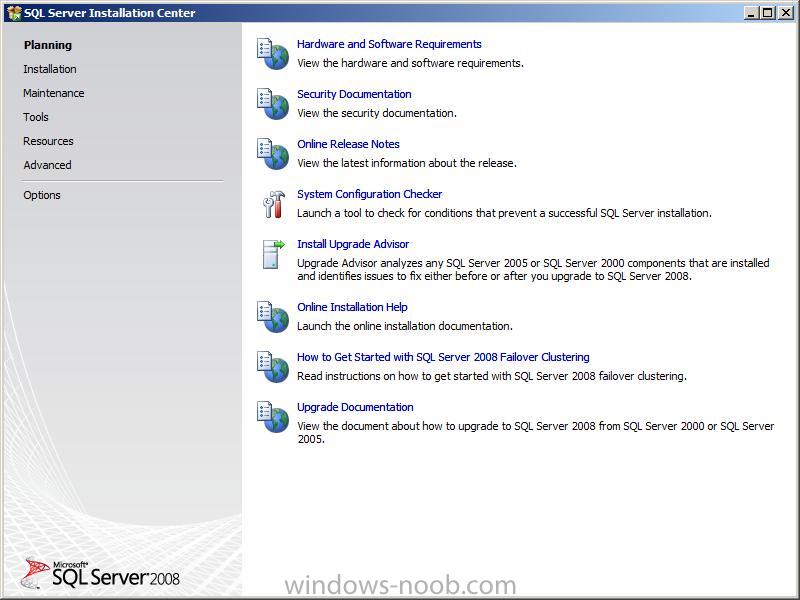
Planning phase
click on System Configuration Checker to check our system for any problems that may prevent SQL 2008 from installing/working.
In my case i got one warning (telling me that installing SQL server on a domain controller is not recommended) but I choose to ignore that warning.
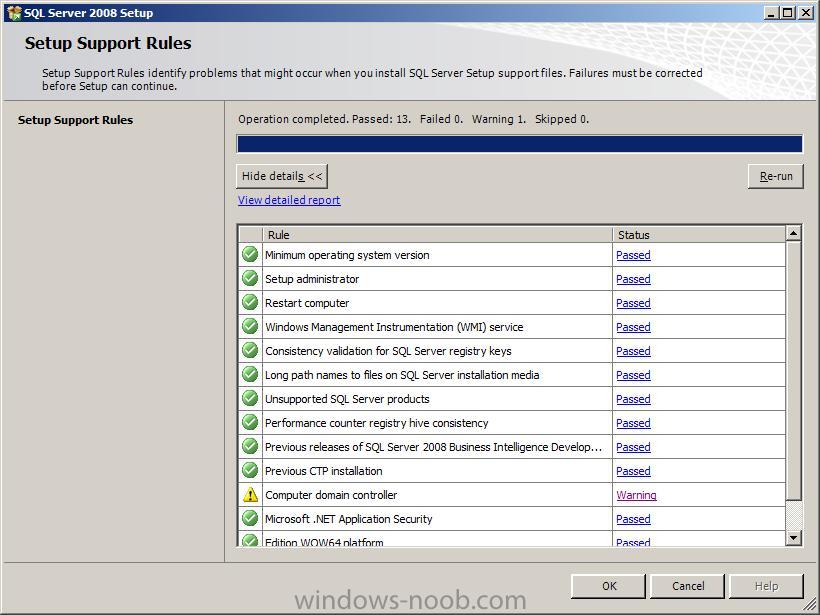
Clicking ok brings you back to the SQL 2008 main menu, here you can see many more options for your SQL server (hardware requirements, security documentation, release notes, upgrade advisor and more).
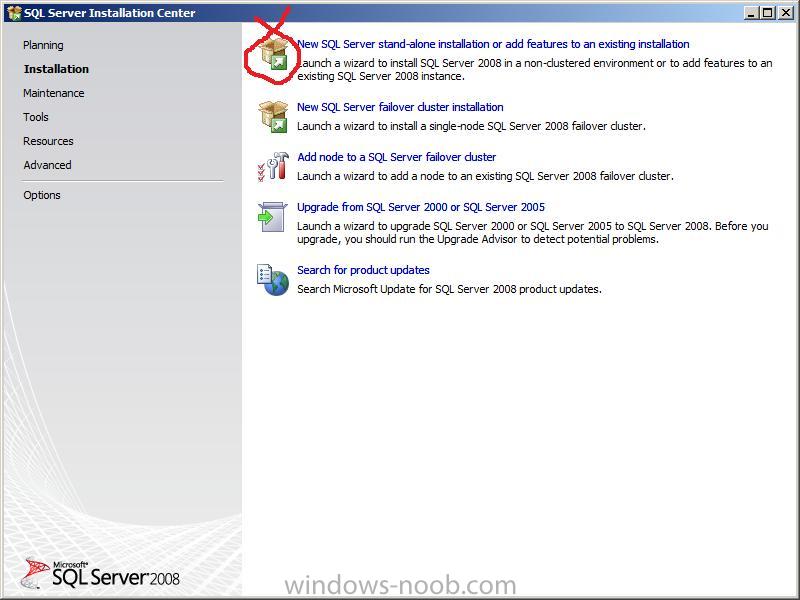
Installation
Click on Installation in the left pane, in the new window that appears, choose the first option which is a new SQL server stand-alone installation.
setup support rules
this is turn will do a quick test for setup support rules,
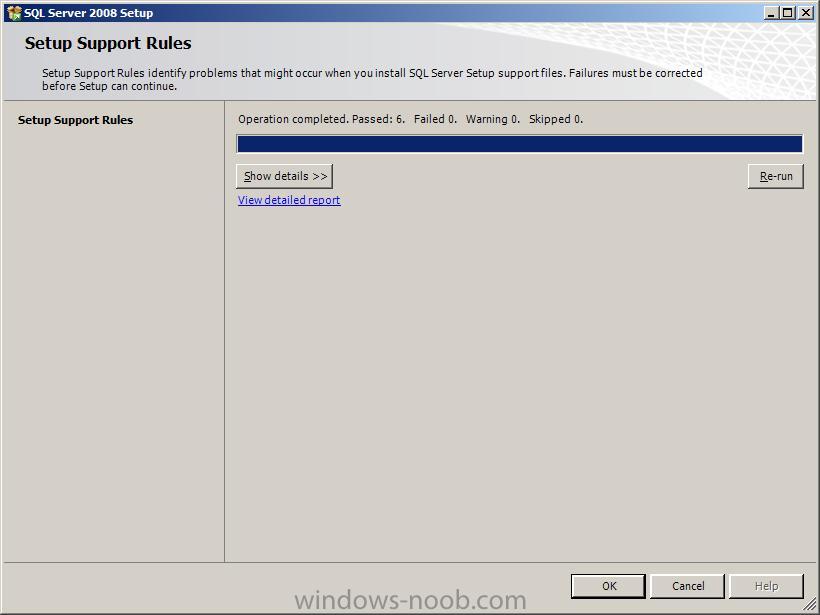
click ok to continue
at this point you can use the drop down menu to select a different SQL version (we dont need to) or input your SQL Server product key, click next when done.

accept the license terms and click next

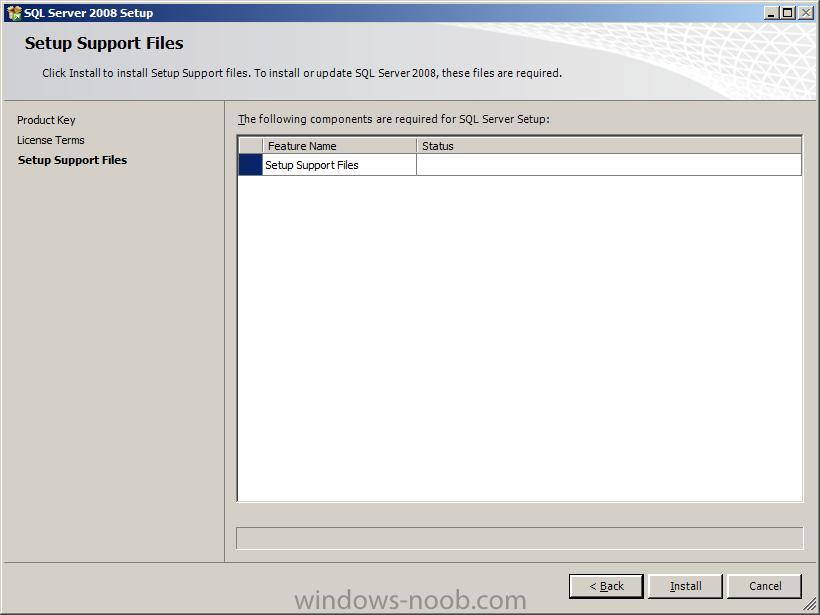
click install to install setup support files…
once again, I was presented with another setup support rules test result this time with two warnings, the domain controller one (safe to ignore) and my windows firewall telling me that the appropriate ports should be opened

I clicked next.
Feature Selection
I chose to Select All and left the path of the install as default.

Instance Configuration
I left these options as default

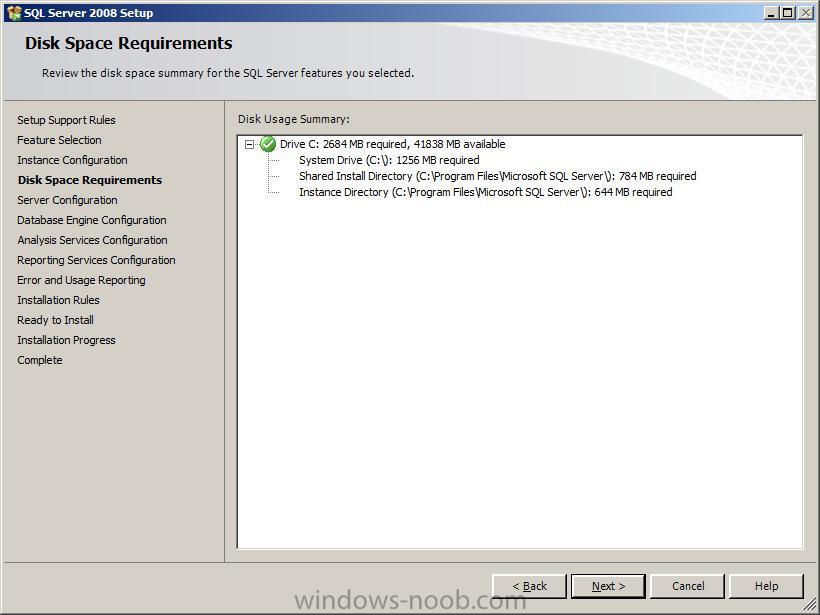
Disk Space Requirements
The disk space requirements gave me a green ok arrow, so I clicked next to continue
Server Configuration
Note: if you need to change collation, or verify it then click on the Collation Tab.
Otherwise, click on Account Name to the right of SQL Server Agent and enter your the administrator/password values
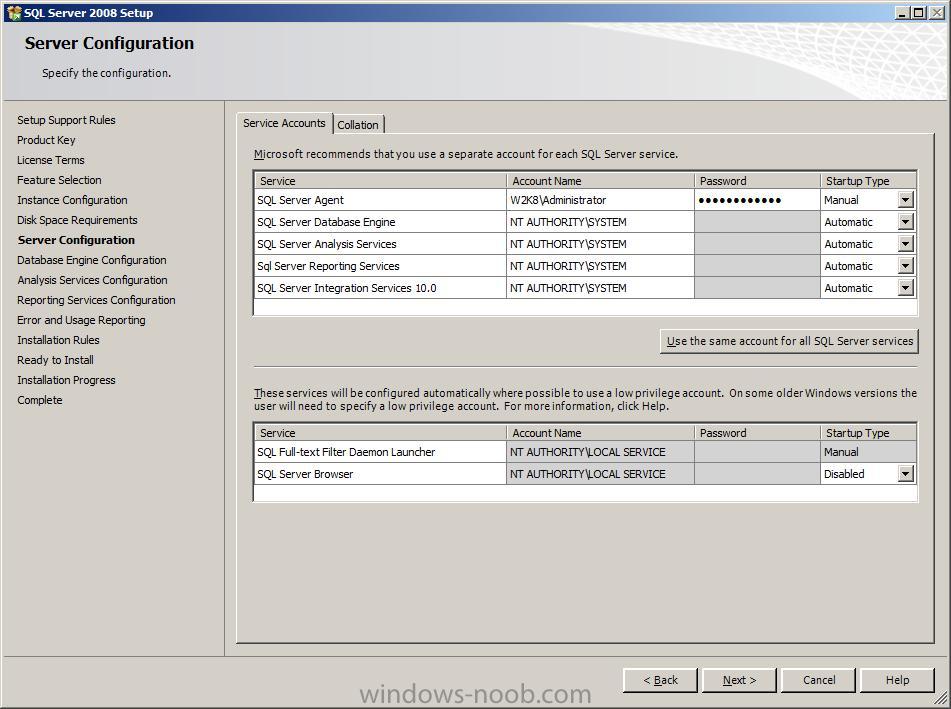
click next
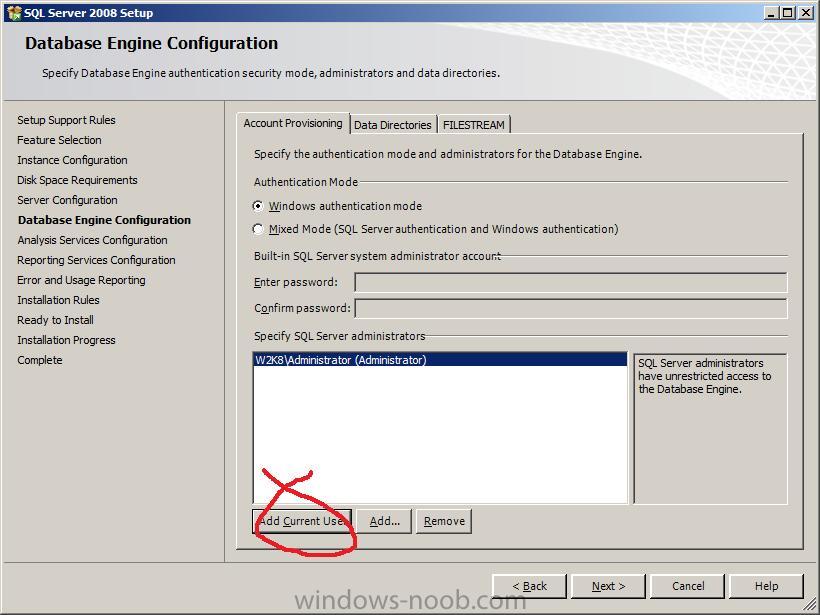
Database Engine Configuration
You can adjust the user settings here depending on your security preferences
Quote
Beginning in SQL Server 2005, significant changes were implemented to help ensure that SQL Server was more secure than previous versions. Changes included a “secure by design, secure by default, and secure in deployment” strategy designed to protect the server instance and its databases from security attacks.
SQL Server 2008 continues the security hardening process by introducing more changes to the server and database components. SQL Server 2008 leverages the User Account Control (UAC) found in Windows Vista and Windows Server 2008.
The changes introduced in SQL Server 2008 further decrease the surface and attack areas for the server and its databases by instituting a policy of “Least Privileged Authority.” This means that internal accounts are protected and separated into operating system functions and SQL Server functions. These measures include:
The ability to provision one or more Windows principals into the Sysadmin server role inside SQL Server. This option is available during SQL Server Setup.
The Surface Area Configuration (SAC) tool has been removed, and replaced by poliyc-based management and changes in the Configuration Manager tool.
These changes will affect your security planning for SQL Server, and help you create a more complete security profile for your system.
for the purpose of this guide, we will add the local administrator by clicking on Add Current User, if this or any options confuse you then click on help in the bottom right corner of the installer.
For Analysis Services configuration, enter the same value (add current user, assuming you are doing this as local administrator…)

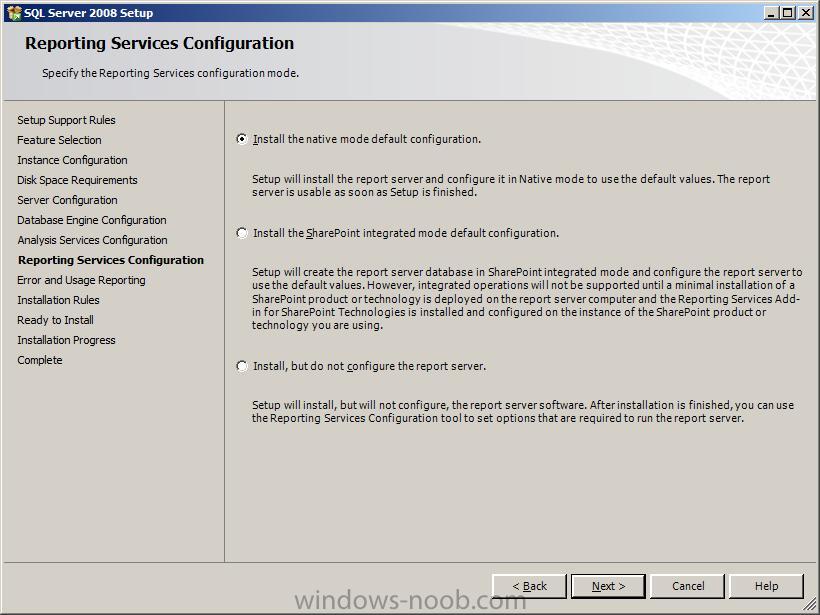
for the Reporting Services configuration, I left the default value (native)
choose your Error and Usage reporting settings and click next

your installation Rules will get a quick check…
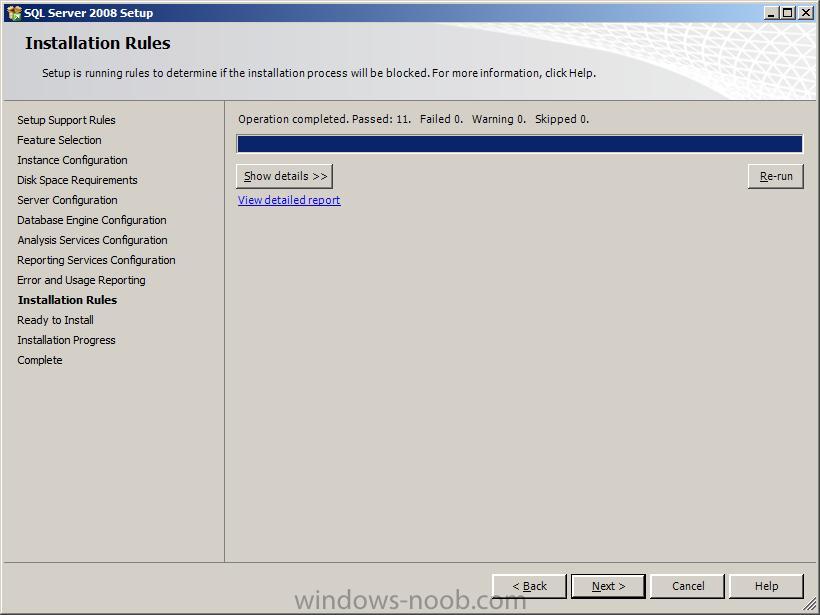
click next to see ‘Ready to install’ summary’

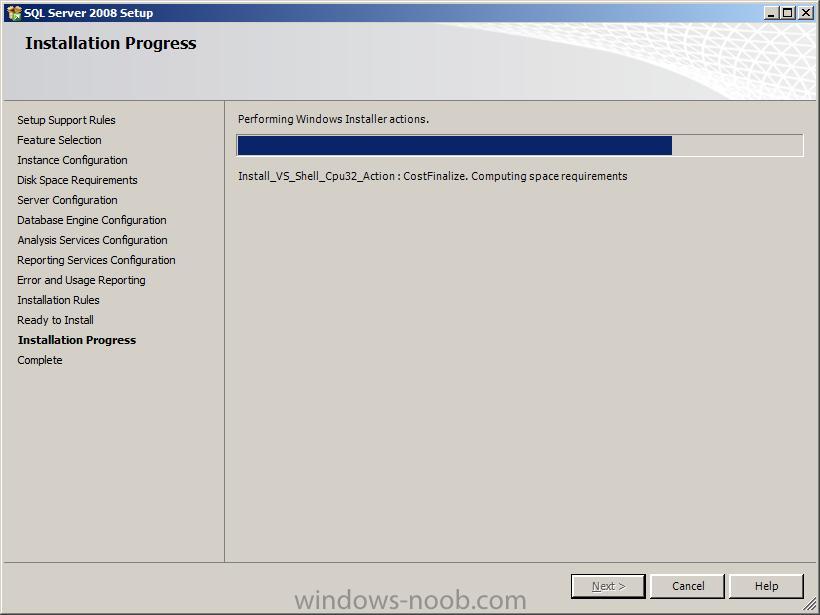
click install to start the installation…
(time for lots of coffee..)
After dinner it was completed
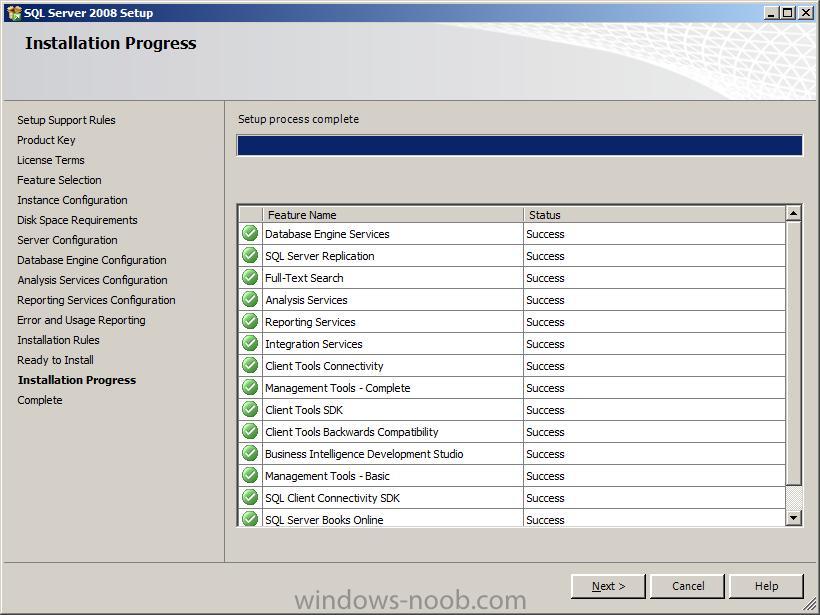
one more click and then it’s all completed.
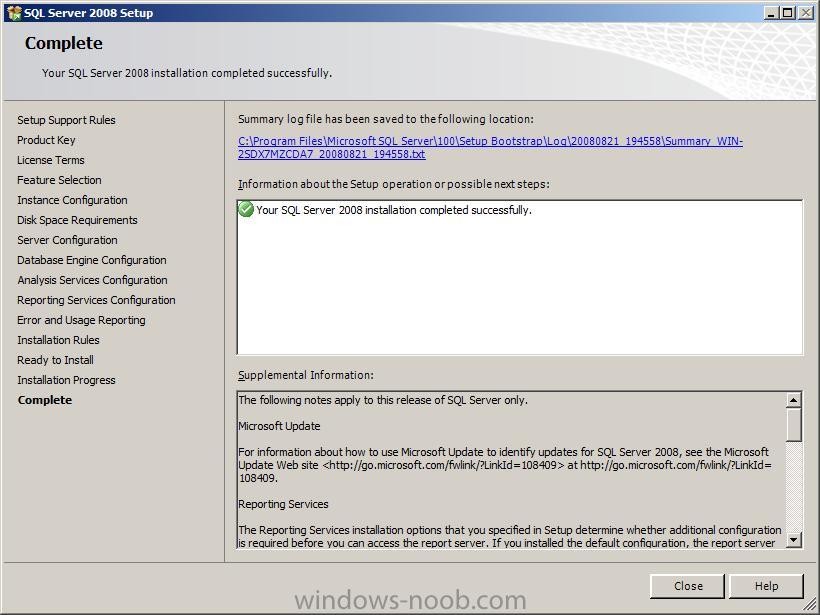
🙂

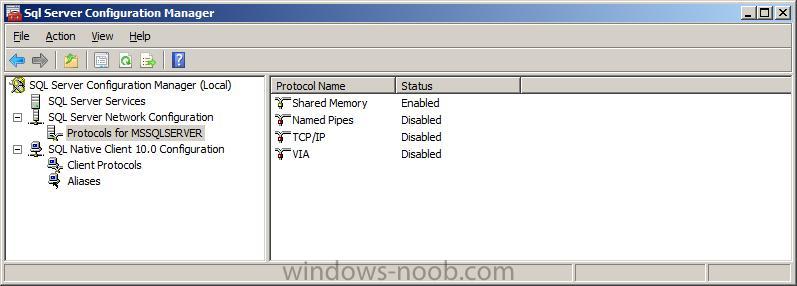
Note: This step is optional for troubleshooting Kerberos authentication issues. The named pipes protocol is not required for Configuration Manager 2007 site database operations and should only be used for troubleshooting kerberos authentication problems.
Enable Named Pipes and TCP/IP in your SQL server protocols (by default they are disabled), start up your SQL Server Configuration Manager, expand SQL Server Network Configuration in the left pane, and choose Protocols for MSSQLSERVER (or whatever your SQL server instance is called).
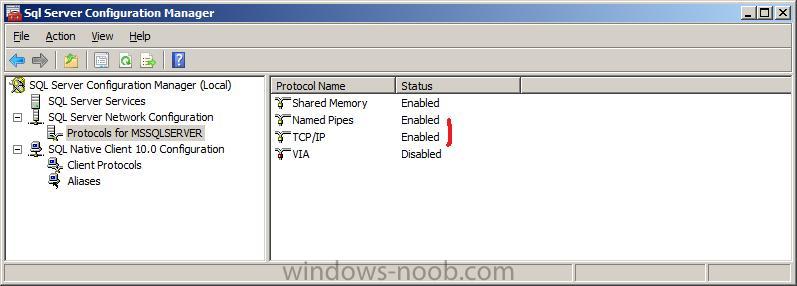
Right click on named pipes and set to enable, do the same for TCP/IP,
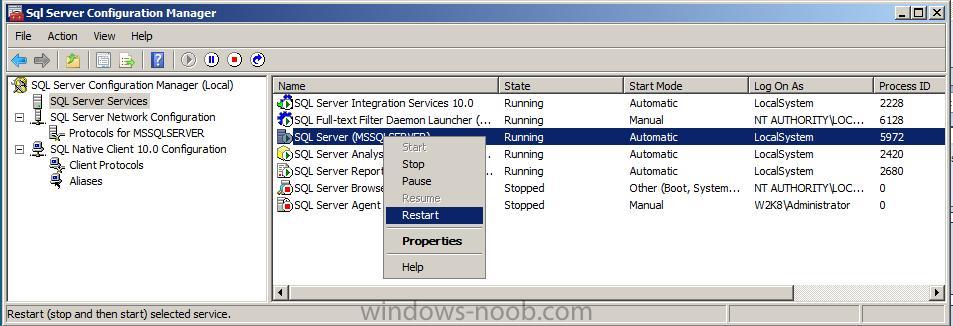
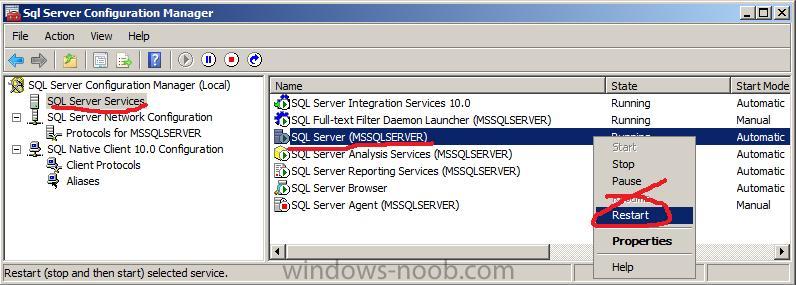
once done you must Restart the SQL server service (click on SQL Server Services in the left pane, and in the right pane right click on SQL Server (MSSQLSERVER), choose restart
 However, if you are installing an All In One server (DC with SQL etc…) then do as follows:
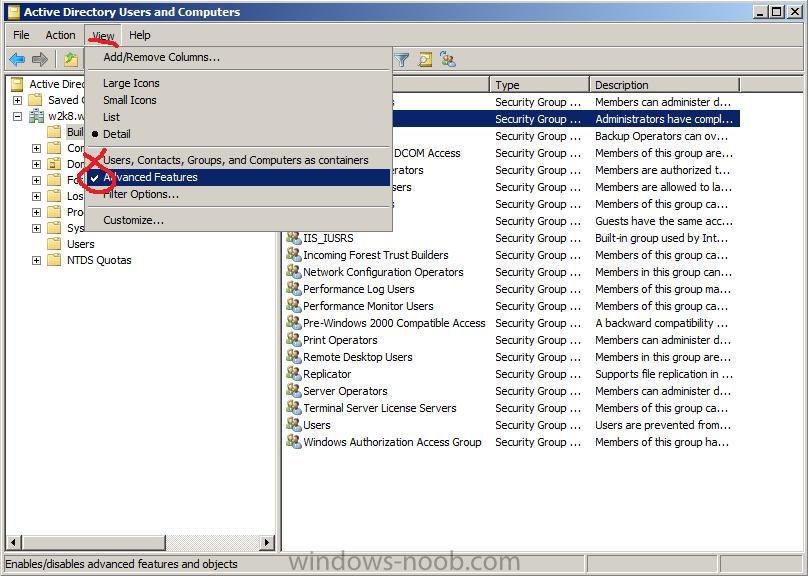
Start up Active Directory Users and Computers, and verify that Advanced Features are selected under View
Select Builtin in the Left pane, highlight Administrators in the right pane and right click, choose properties and click on the Members Tab, click Add.

when the Select Users, Contacts, Computers or Groups window appears, choose Object Types
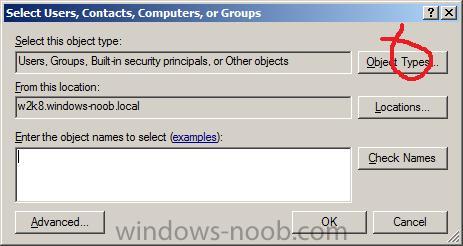
when the Object Types window appears, put a checkmark in the Computers option

click Advanced, followed by Find Now

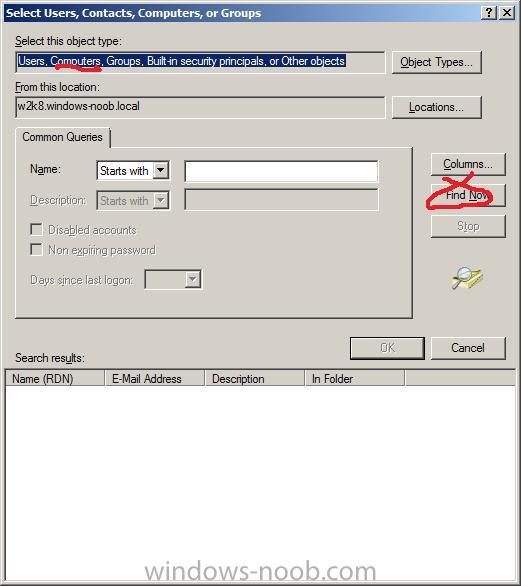
add the computer account by clicking it’s name and Ok.

Click Ok again and now you should see the computer account added

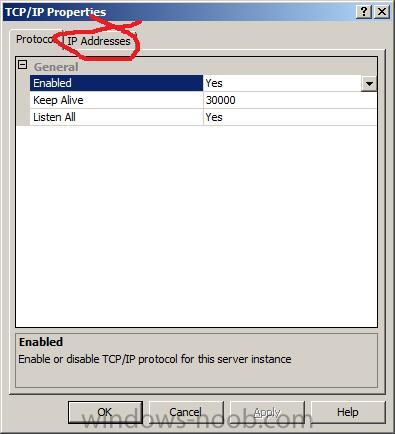
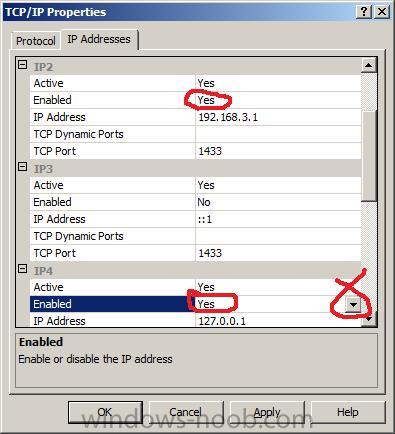
Check TCPIP properties for listening IP address in SQL Server Configuration Manager
Start up the SQL Server Configuration Manager, and expand SQL Server Network Configuration on the left pane, highlight Protocols for <Instancename> and double click on TCPIP in the right pane

Click on the IP Addresses tab
change the Status from Disabled (default) to Enabled for both the Servers local ip and localhost values (see screenshots)
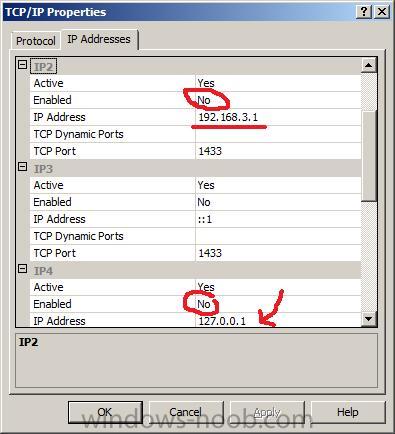
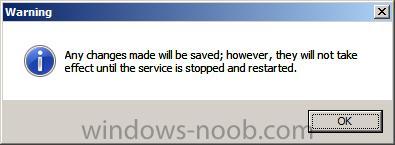
restart the SQL service to make the changes work
that’s it ! all Done.
